Reverse Engineering the Saab 900 Carlsson Air Intake Duct
One of the things I enjoy about reverse engineering is that, once you’re finished, the part isn’t just another reproduction but it’s a design you own.
That’s what led me to the Saab 900 Carlsson air intake duct. I’m planning to produce a small number of carbon fibre Carlsson bumpers, and rather than relying on the only original ducts I had, I wanted to recreate them as fully editable CAD models. That way I can reproduce them whenever I need to, while also leaving the door open for future versions with brake cooling, oil cooler ducting, or whatever else seems worth trying.
Scanning the originals
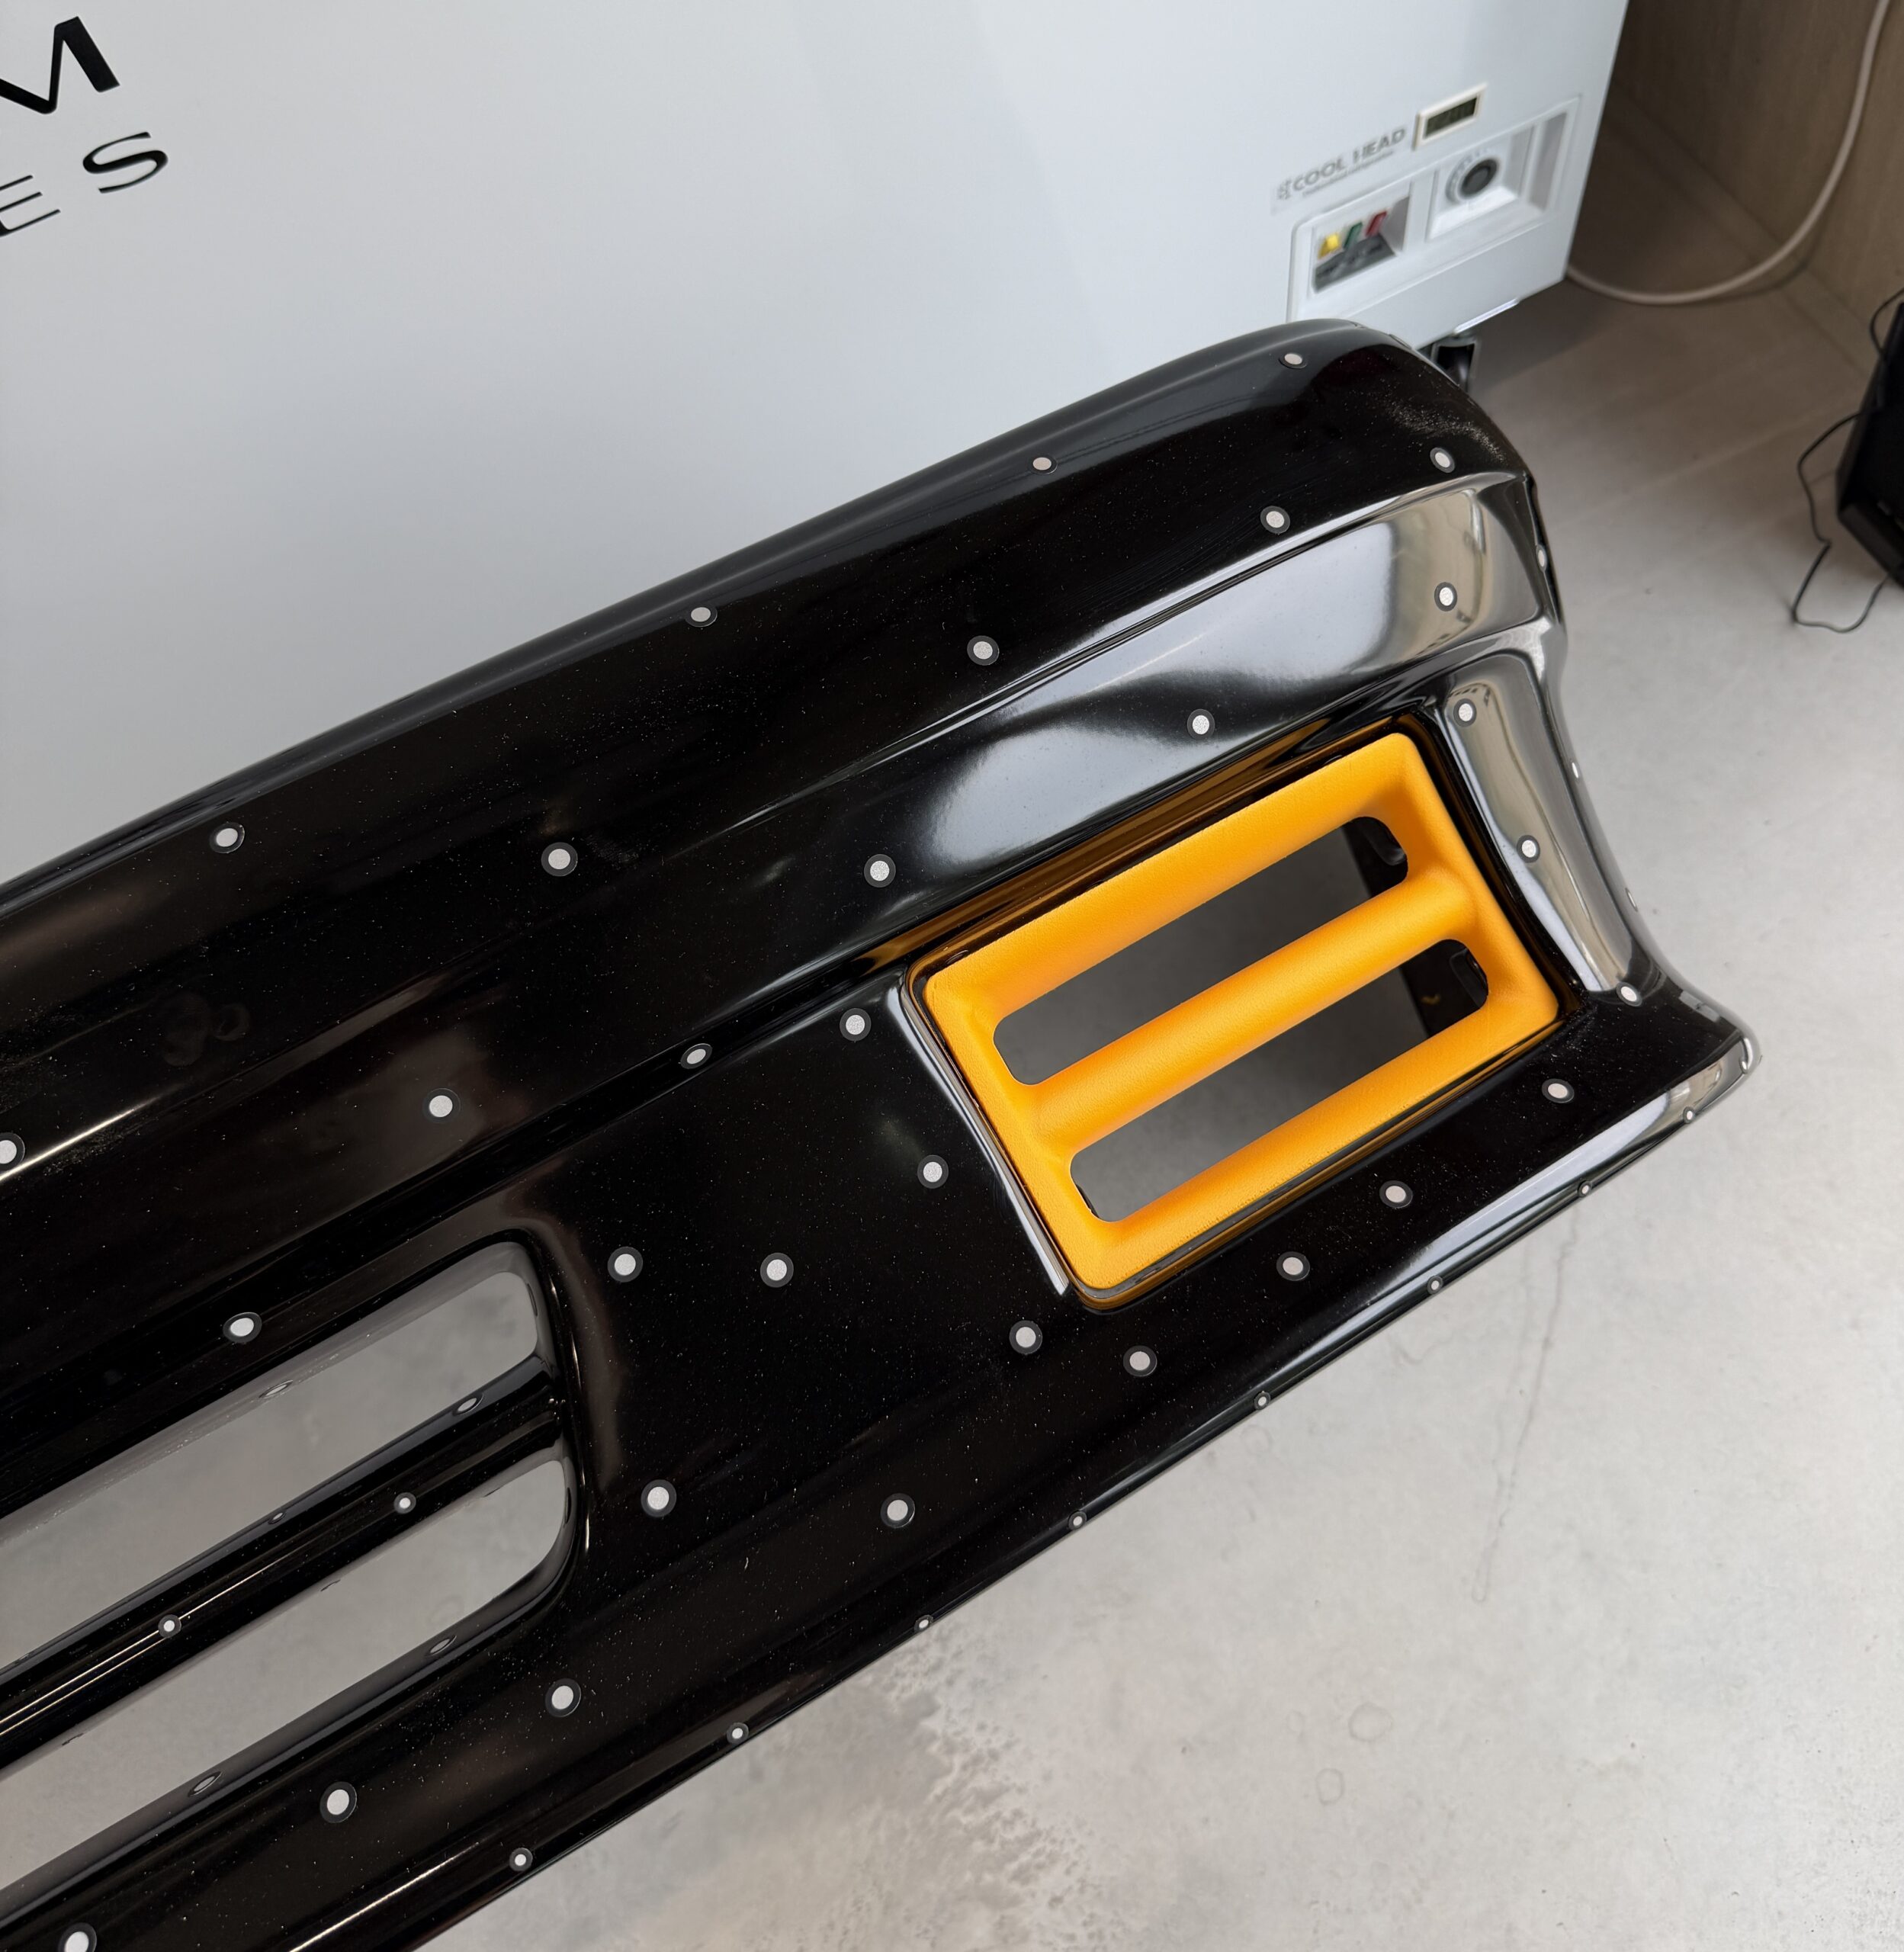
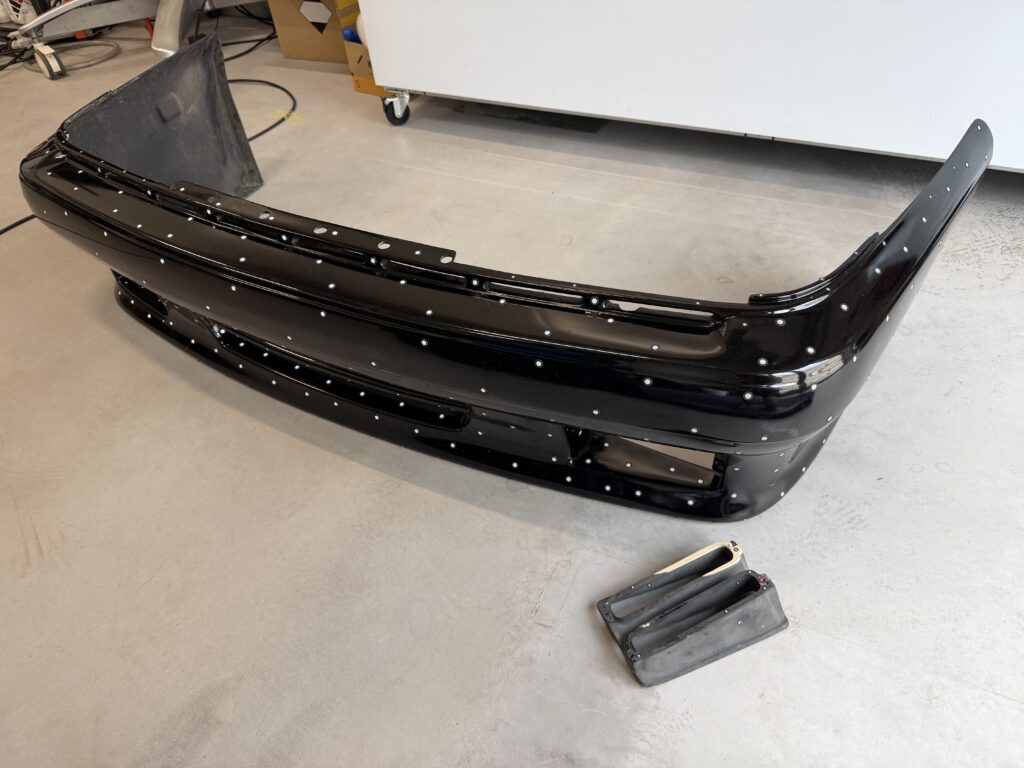
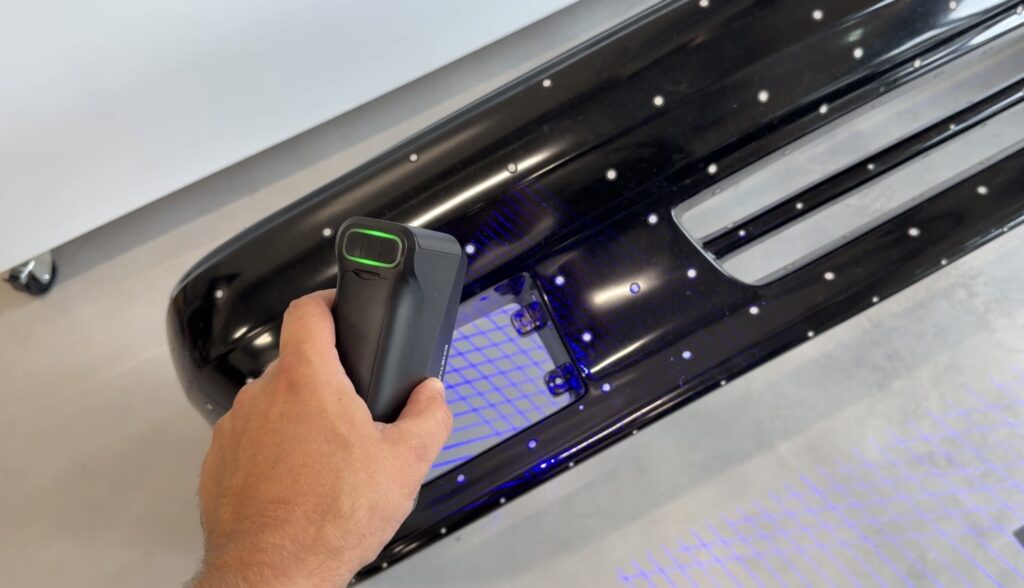
The first step was to scan both the original ducts and the bumper using an Einstar Rockit scanner.
Scanning the ducts was obvious, but scanning the bumper was just as important. A replacement part is only useful if it actually fits the bumper it’s supposed to live in, so I wanted both pieces as references before opening Fusion 360.
Turning a scan into CAD
A scan gives you the shape of the part, but it doesn’t magically become a CAD model. Everything still has to be rebuilt as proper geometry before it’s editable.
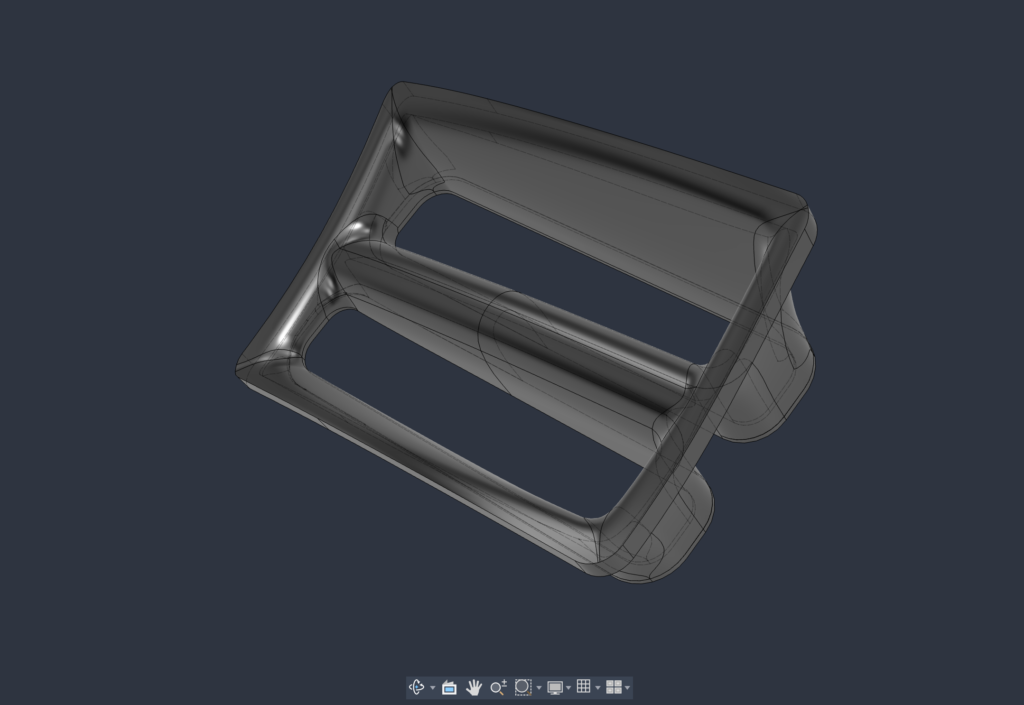
I rebuilt the ducts from scratch in Fusion 360, using the scan as a reference. Most of the work was done with 3D sketches and lofted surfaces.
There is still definitely a learning curve with surface modelling. More than once I got halfway through a surface before realising there was a better way to approach it and starting over.
I wouldn’t claim the model is built the way a professional surfacing engineer would do it, but that’s not really the point. It captures the original geometry well, it’s fully editable, and now I can change anything without having to start from scratch again.
Something I wasn’t expecting
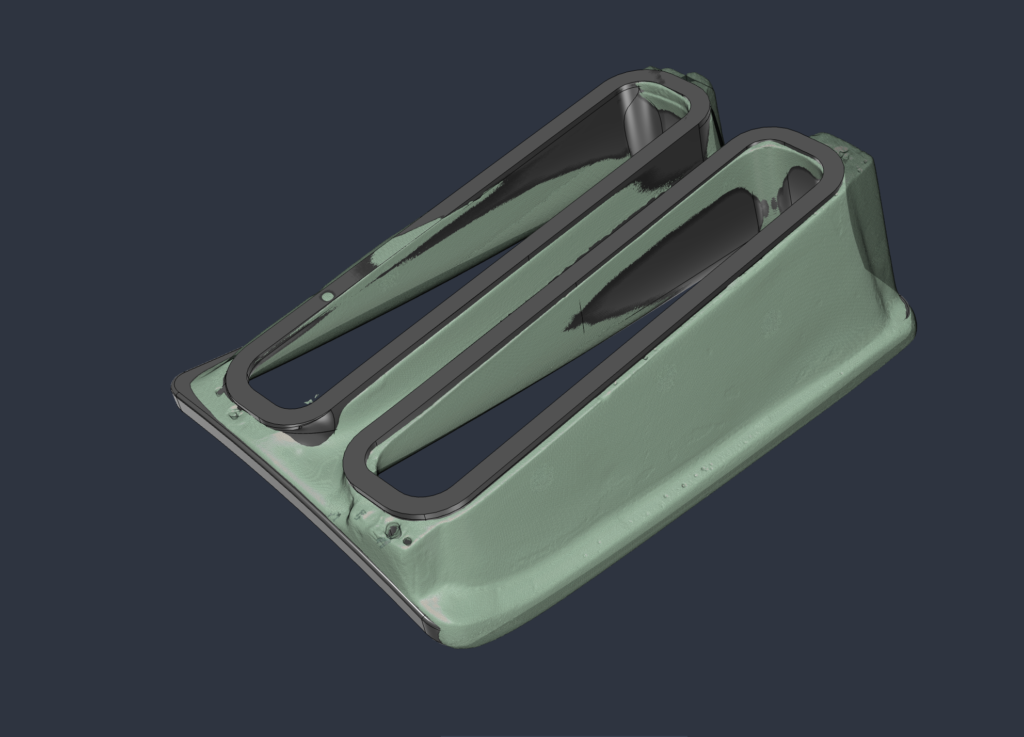
Once I started comparing the scan data, I noticed something interesting.
The left and right ducts aren’t perfectly symmetrical. Neither is the bumper.
The openings in the Carlsson bumper are slightly different from one side to the other. For example the left duct cavity in the bumper is 5mm deeper than the right. Is it supposed to be like that? I wouldn’t want to think that this is a manufacturing tolerances from the early 1990s but who knows.
The original ducts weren’t a perfect reference either, so rebuilding them wasn’t just a case of tracing what was there. Sometimes you have to decide whether you’re recreating the original part or recreating what the original part was supposed to be.
Print, fit, repeat
Once the CAD model was in a good place, it was time to see how well it worked on the actual car.
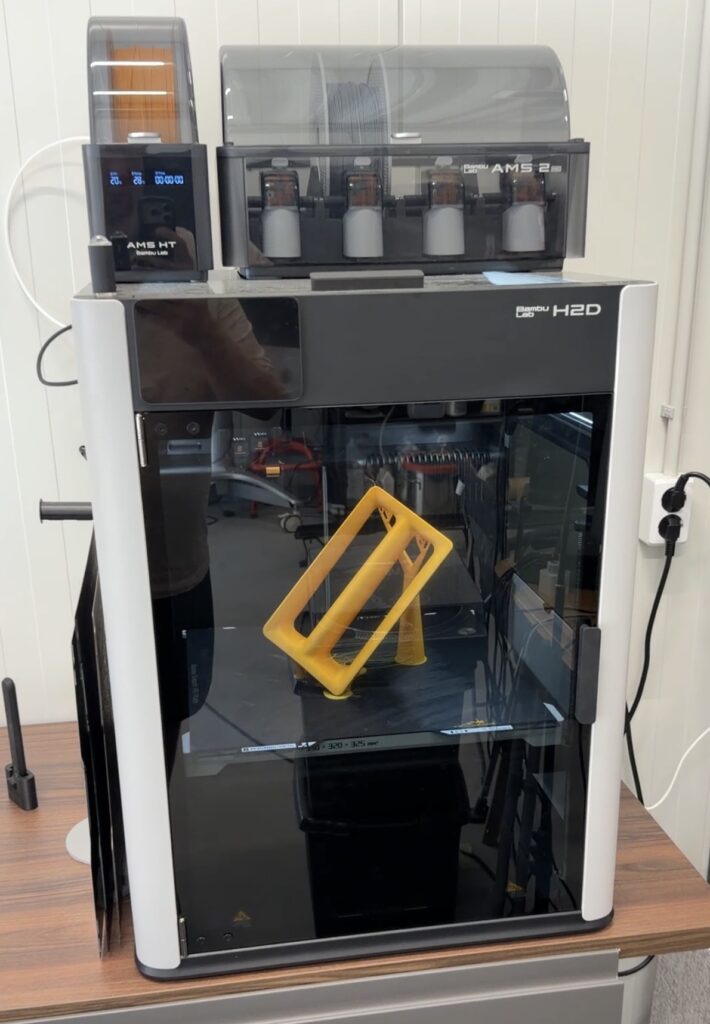
This is where the 3D printer earned its keep.
I’d print a prototype, test fit it, spot something that bothered me, go back into Fusion, make a small change and print another one.
I think I ended up with around seven prototypes before I stopped finding little things to improve.
Most of the changes were small. A mounting surface moved slightly. A curve flowed a little better. A corner got a bit more clearance. Individually they weren’t dramatic, but together they made the finished part look and fit much more like it belonged there.
The finished part
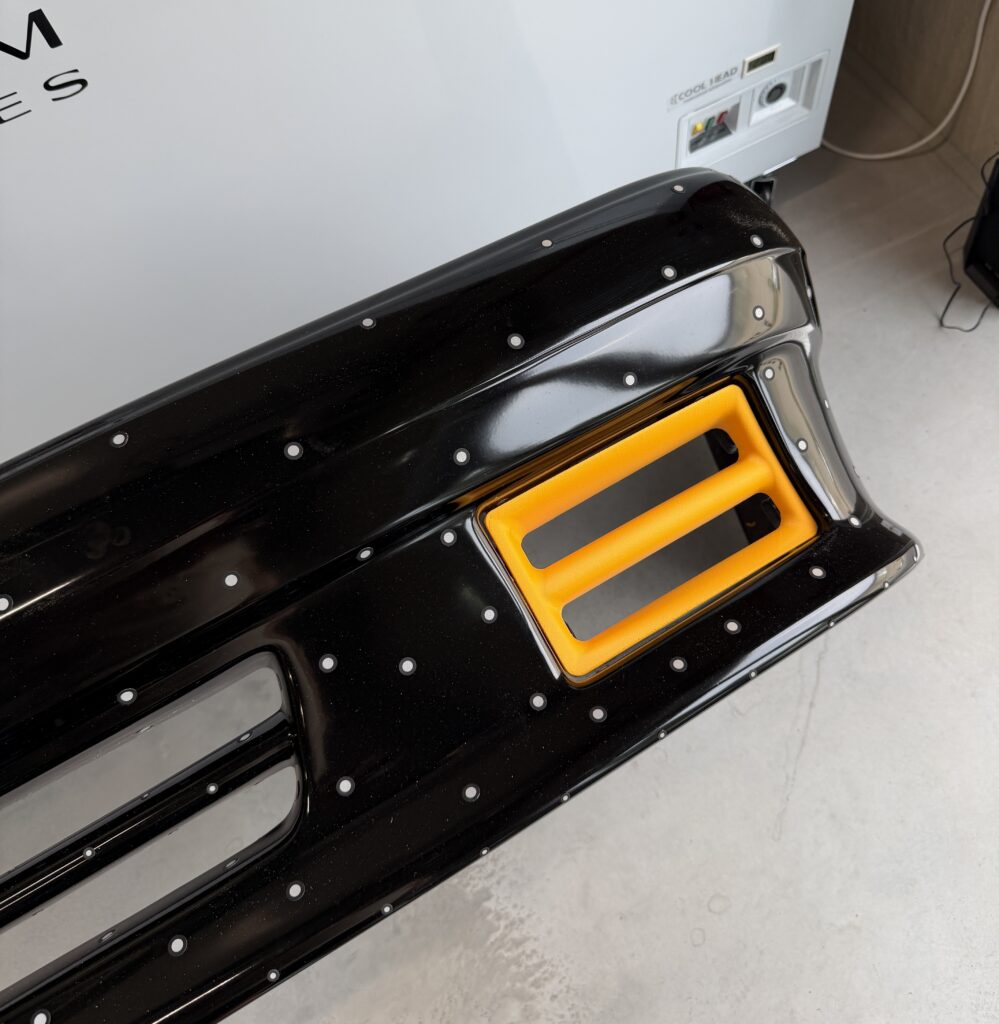
The production version could be printed in ASA-CF (fibre reinforced ASA).
It’s a good material for this sort of part. It handles UV and heat well, it’s stiff enough for the job, and it can be painted to match the bumper.
For now, I’ve kept the geometry fairly close to the original. That gives me a solid baseline before experimenting with anything else.
The nice thing is that I don’t have to reverse engineer it again. If I decide to make a version with integrated brake cooling, oil cooler ducting or a different inlet size, it’s just another iteration of the CAD model.
What’s next?
The production design is nearly finished, and once I’m happy with it I’ll be offering printed ducts through my shop.
I’m also looking forward to seeing where the model goes from here.
One of the reasons I wanted to reverse engineer the original wasn’t just to make copies but it was to create a starting point for future ideas. Whether that’s a duct for a carbon fibre Carlsson bumper, integrated brake cooling, or something I haven’t thought of yet, the hard part is already done.
And that’s probably my favourite part of the whole project.
The original duct only existed as a piece of plastic.
Now it exists as a design.